DASHBOARD
Log in to your dashboard and select “White Label Reporting” from the top right, under your username.
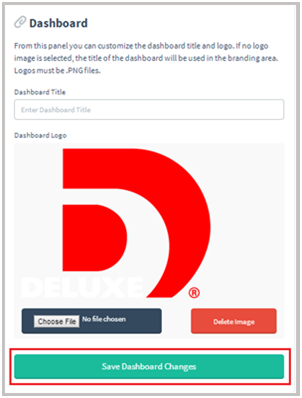
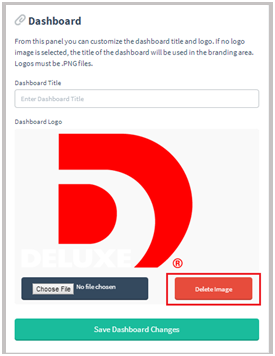
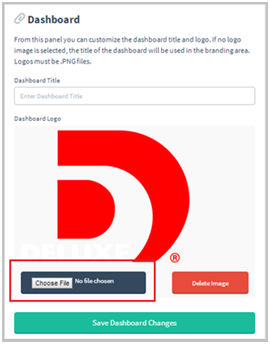
From “White Label Reporting” you can customize the dashboard title and logo. Please note that logos must be PNG files. If no logo is selected, the title of the dashboard will be used in the branding area.
[The rest of the original answer can stay the same]
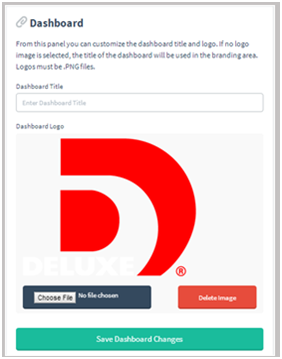
Add a dashboard title:
Enter the title that you wish to display on the top of your dashboard.
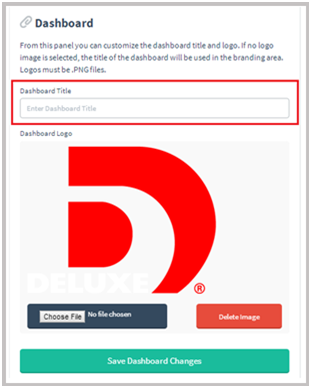
Select “Save Dashboard Changes”
Add a Logo:
*Make sure that you have created a saved .png file of the logo that you wish to display. For best results, try to keep the image below 400 x 400.
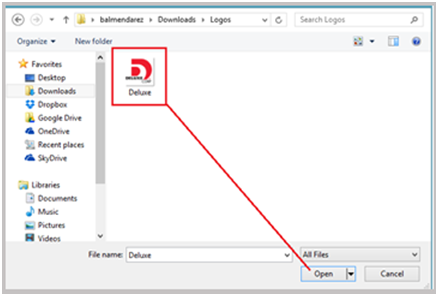
Select “Choose File.”
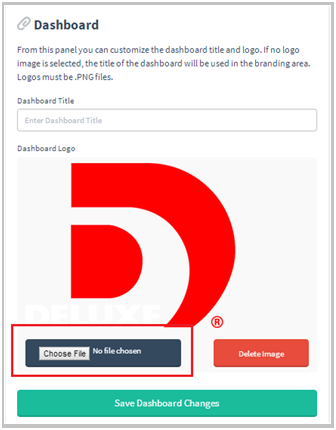
Select that logo that you wish to upload and “open.”

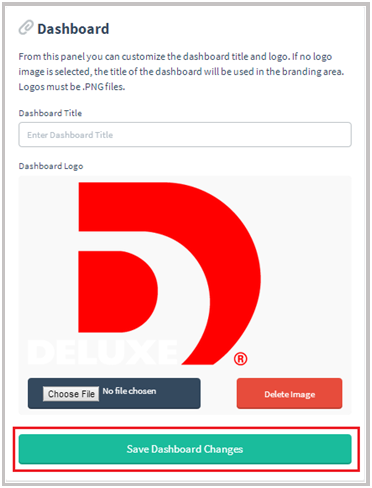
Select “Save Dashboard Changes.”
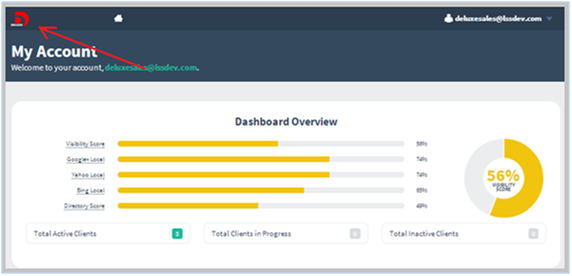
EX: Logo will now be displayed on the top left of your dashboard.
Delete logo:
Select “Delete Image.”
Dashboard Options
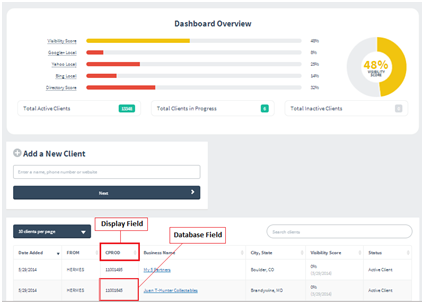
Custom fields will display for each client on the dashboard home page. These fields will display between the “Date Added” and “Business Name” fields.
On the dashboard home page, there are two extra fields that can be displayed.
Display Name– The name of the “database field.”
Database Field– This field allows you to create an identifier that you would like to associate with each client through database language. This particular function is used when wanting to “append” a product description and/or order id to each client added.
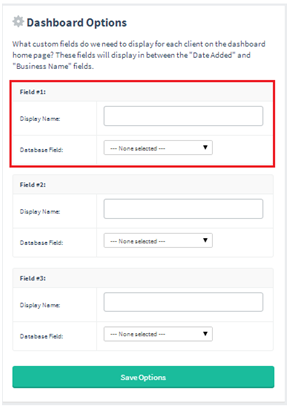
EX: This particular Partner has decided to create an additional field to help label their clients using a CPROD code. This is a beneficial feature when using an internal order entry system.
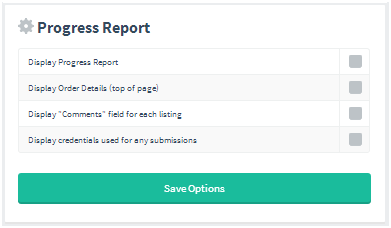
Progress Report
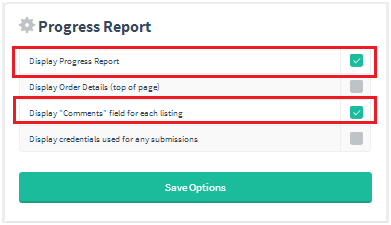
This segment offers many different options to choose from.
Display Progress report– This feature allows you to monitor each client’s progress month over month.
Display order details (top of page)– This feature will allow you to display Order #, Status, Date Started, Date Finished, Date Ordered, and Products Ordered (located on top of progress report).
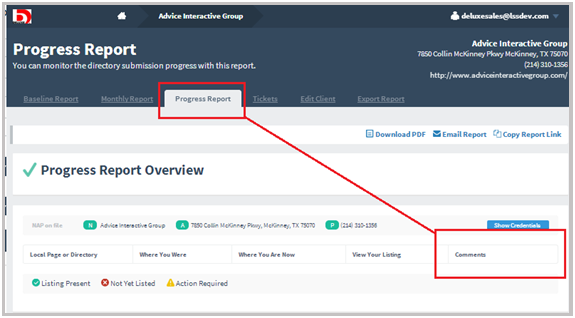
Display “Comments” fields for each listing– This feature will add a comments box to your progress report that will allow you to add comments that relate.
Display credentials used for any submissions – This option will allow you to display each “credential” used to create listing. The credentials listed can also be used to access each source directly.
Selecting an option:
Check within the box of options what you wish to include as a function.
Select “save options.”
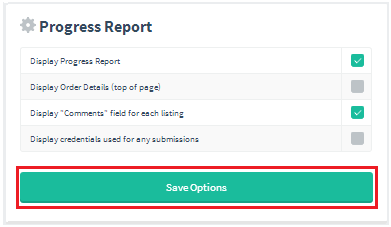
EX: This particular Partner has decided to select “Display Progress Report” and “Display Comments field for each listing.”
Reports
This segment offers many different options to choose from.
- Master Dashboard– The Master Report displays the data for all of your clients.
- Client Export Matrix– Chart of the progress of each client and each directory.
- Sales Tool Report– Designed to allow you to run a report to track how many sales reps were run by a specific sales agent.
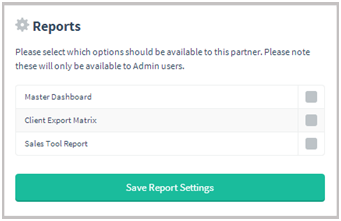
Selecting an option:
Check within the box of options what you wish to include as a function.
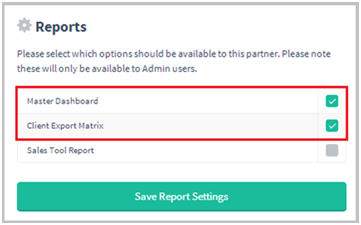
Select “Save Report Settings.”

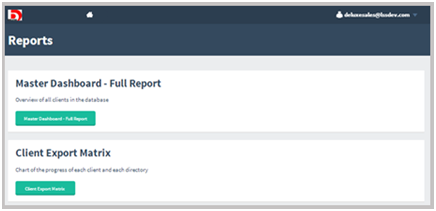
EX: This particular Partner has chosen the features “Master Dashboard” and “Client Export Matrix.” Once accessing the “Reports,” you will be given the option to run the reports into which you opted.
Domain Name
Allows you to point to a “White Labeled” domain name of your choice.
Keep in mind that you will be required to provide the domain name you wish to use as your White Labeled Domain. The domain feature allows you to create a true White Label experience by selecting the domain you wish your internal staff to visit to access their reporting. Also, please keep in mind that this process is necessary when using a “widget.” There are a few steps to consider when setting up your Domain, which are as follows:
- Provide your account manager the actual domain that you wish to use for staff access.
- You will need to set up a proper DNS. In order to do so, we will need to provide you with our IP address in which will allow you to point your domain to our servers. This information will be provided once you have given us the domain of your choice. EX: clientfacing.com
Creating a Domain:
Simply plug in the domain name that you wish to associate with your dashboard.
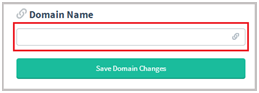
*Domain plugged in
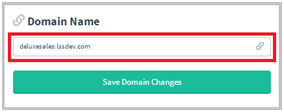
Select “Save Domain Changes.”
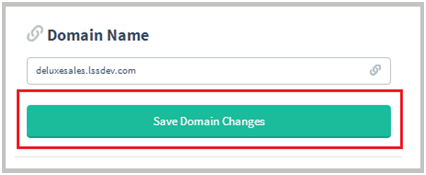
EX: Please note the domain that has been created for this reseller.

Customer Facing Domain
Creating a Customer Facing Domain:
Allows you to point to a “White Labeled” domain name of your choice.
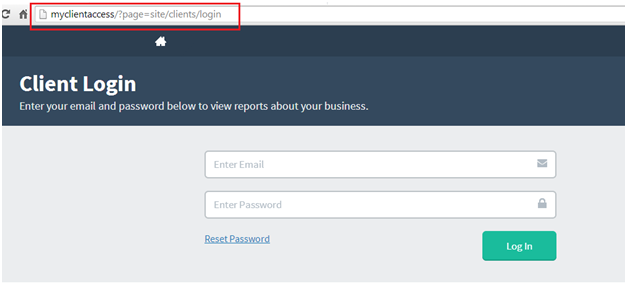
Keep in mind that you will be required to provide the domain name you wish to use as your customer facing “White Labeled Domain”. The customer facing domain feature allows you to create a true “White Label” experience for your customers to access to their reporting. There are a few steps to consider when setting up a Customer Facing Domain (SSO Domain). They are as follows:
- Provide your account manager the actual domain that you wish your clients to access to view their reporting.
- You will need to set up a proper DNS. In order to do so, we will need to provide you with our IP address, which will allow you to point your domain to our servers.
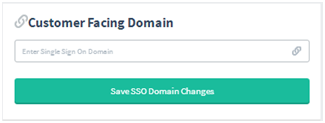
Place the domain that you have ownership or rights to in the “Customer Facing Domain.”
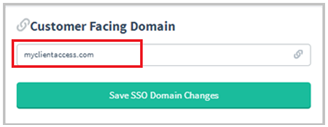
Save “SSO Domain changes.”

EX: Please note the “Customer Facing Domain” that has been created for this client.
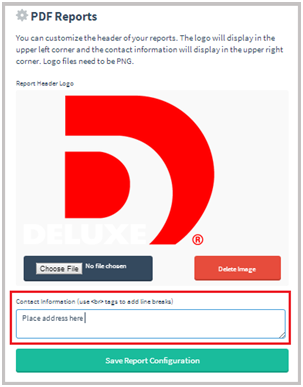
PDF Reports
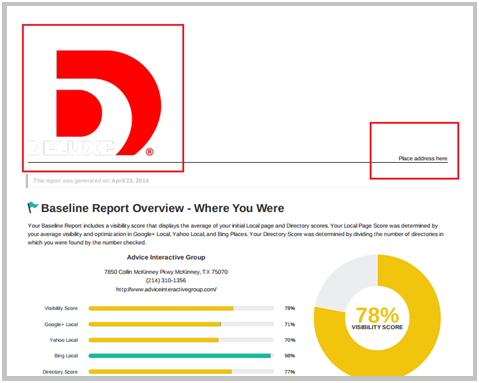
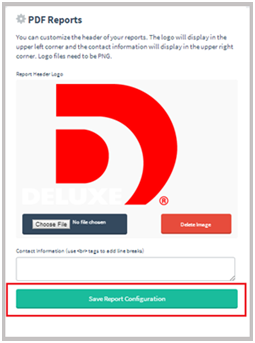
You can customize the header of your reports. The logo will display in the upper left corner and the contact information will display in the upper right corner.
*Logo files need to be in PNG. format.

Select “Choose File.”
Select the logo that you wish to upload and “open” file.
To include the address in the upper right corner of your pdf reports, enter address in the blank field. [See “Place address here”]
Select “Save Report Configuration.”
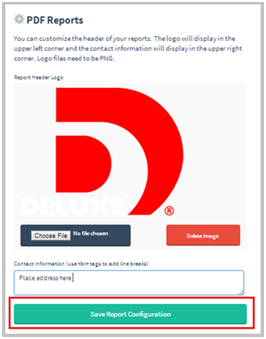
EX: This Partner has decided to add both the “Logo & Address.”
Delete Logo:
Select “ Delete Image.”

Select “Save Report Configuration.”
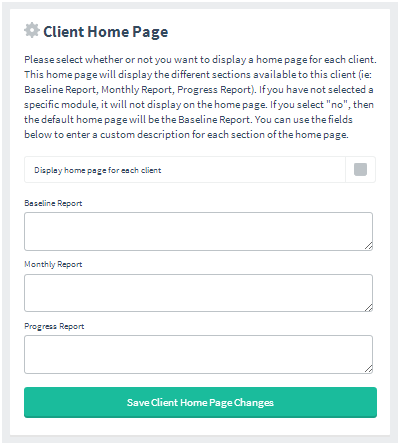
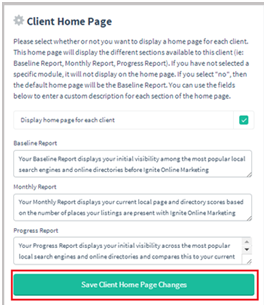
Client Home Page
You can select whether or not you want to display a home page for each partner. This home page will display the different sections available to this client (i.e.: Baseline Report, Monthly Report, and Progress Report). If you have not selected a specific module, it will not display on the home page. If you select “no,” then the default home page will be the Baseline Report. You can use the fields below to enter a custom description for each section of the home page.
You have the option to enter the content you wish, to help summarize the purpose of each report.
For example:
- Baseline Report– Your Baseline Report displays your initial visibility among the most popular local search engines and online directories before Ignite Online Marketing.
- Monthly Report– Your Monthly Report displays your current local page and directory scores based on the number of places where your listings are present with Ignite Online Marketing.
- Progress Report– Your Progress Report displays your initial visibility across the most popular local search engines and online directories and then compares this to your current listing presence with Ignite Online Marketing.
Opting into the “Client Home Page:”
- Check “display home page for each client.”
- If you wish to add content for each report that generates, fill in each report with the desired content.
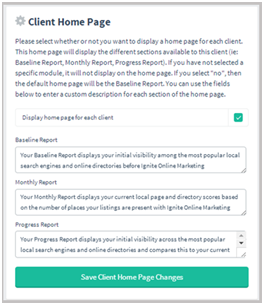
3. Select “Save Client Home Page Changes.”
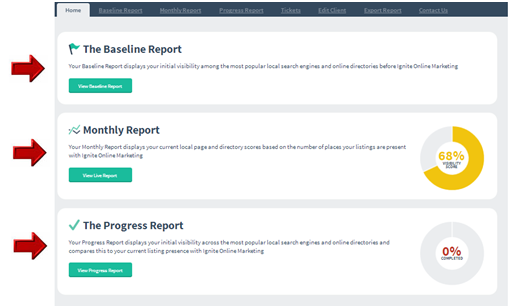
EX: This client has decided to opt into the “Client Home Page” while taking full advantage of the content fields.
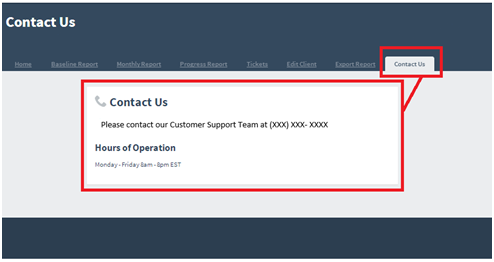
Contact Us Page
The Contact Us Page displays information about contacting your business. You can use this option as an opportunity to display any form of contact information you prefer.

Opting into Contact Us Page:
- Check “Display Contact Us Page.”
- Fill in the content you would like to display for “contact information.”
- HTML is acceptable
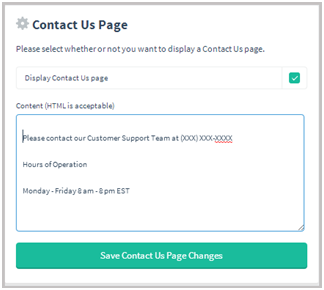
- Select “Save Contact Us Page Changes.”
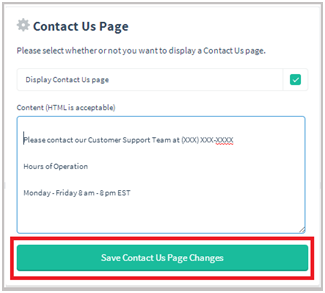
EX: Opted into “Display Contact us Page “as well as filled out content field form.